TalkWiz Zapier Integration Guide
Streamline Your Lead Management: Connecting a Lead Source to TalkWiz.ai with Zapier
In today's fast-paced digital landscape, responding to new leads instantly can be the deciding factor between a secured deal and a missed opportunity. By integrating your lead sources with TalkWiz.ai through Zapier, you can automate your lead engagement process, ensuring every new prospect receives a timely and personalized interaction from your AI agent. This powerful connection sends leads directly from your lead source campaigns to TalkWiz.ai, which can then initiate conversations and book appointments, maximizing your conversion potential.
This knowledge base article provides a step-by-step guide on how to set up this valuable integration.
Prerequisites
Before you begin, please ensure you have the following: (in this example we are connecting Facebook Leads)
- An active TalkWiz.ai account.
- An active Facebook account with a business page and an active lead ad campaign.
- A Zapier account.
Getting Started: Connecting TalkWiz.ai to Zapier
-
Navigate to Integrations in TalkWiz.ai: Log in to your TalkWiz.ai account. On the left-hand navigation panel, under the "ACCOUNT SETTINGS" section, click on Integrations.
-
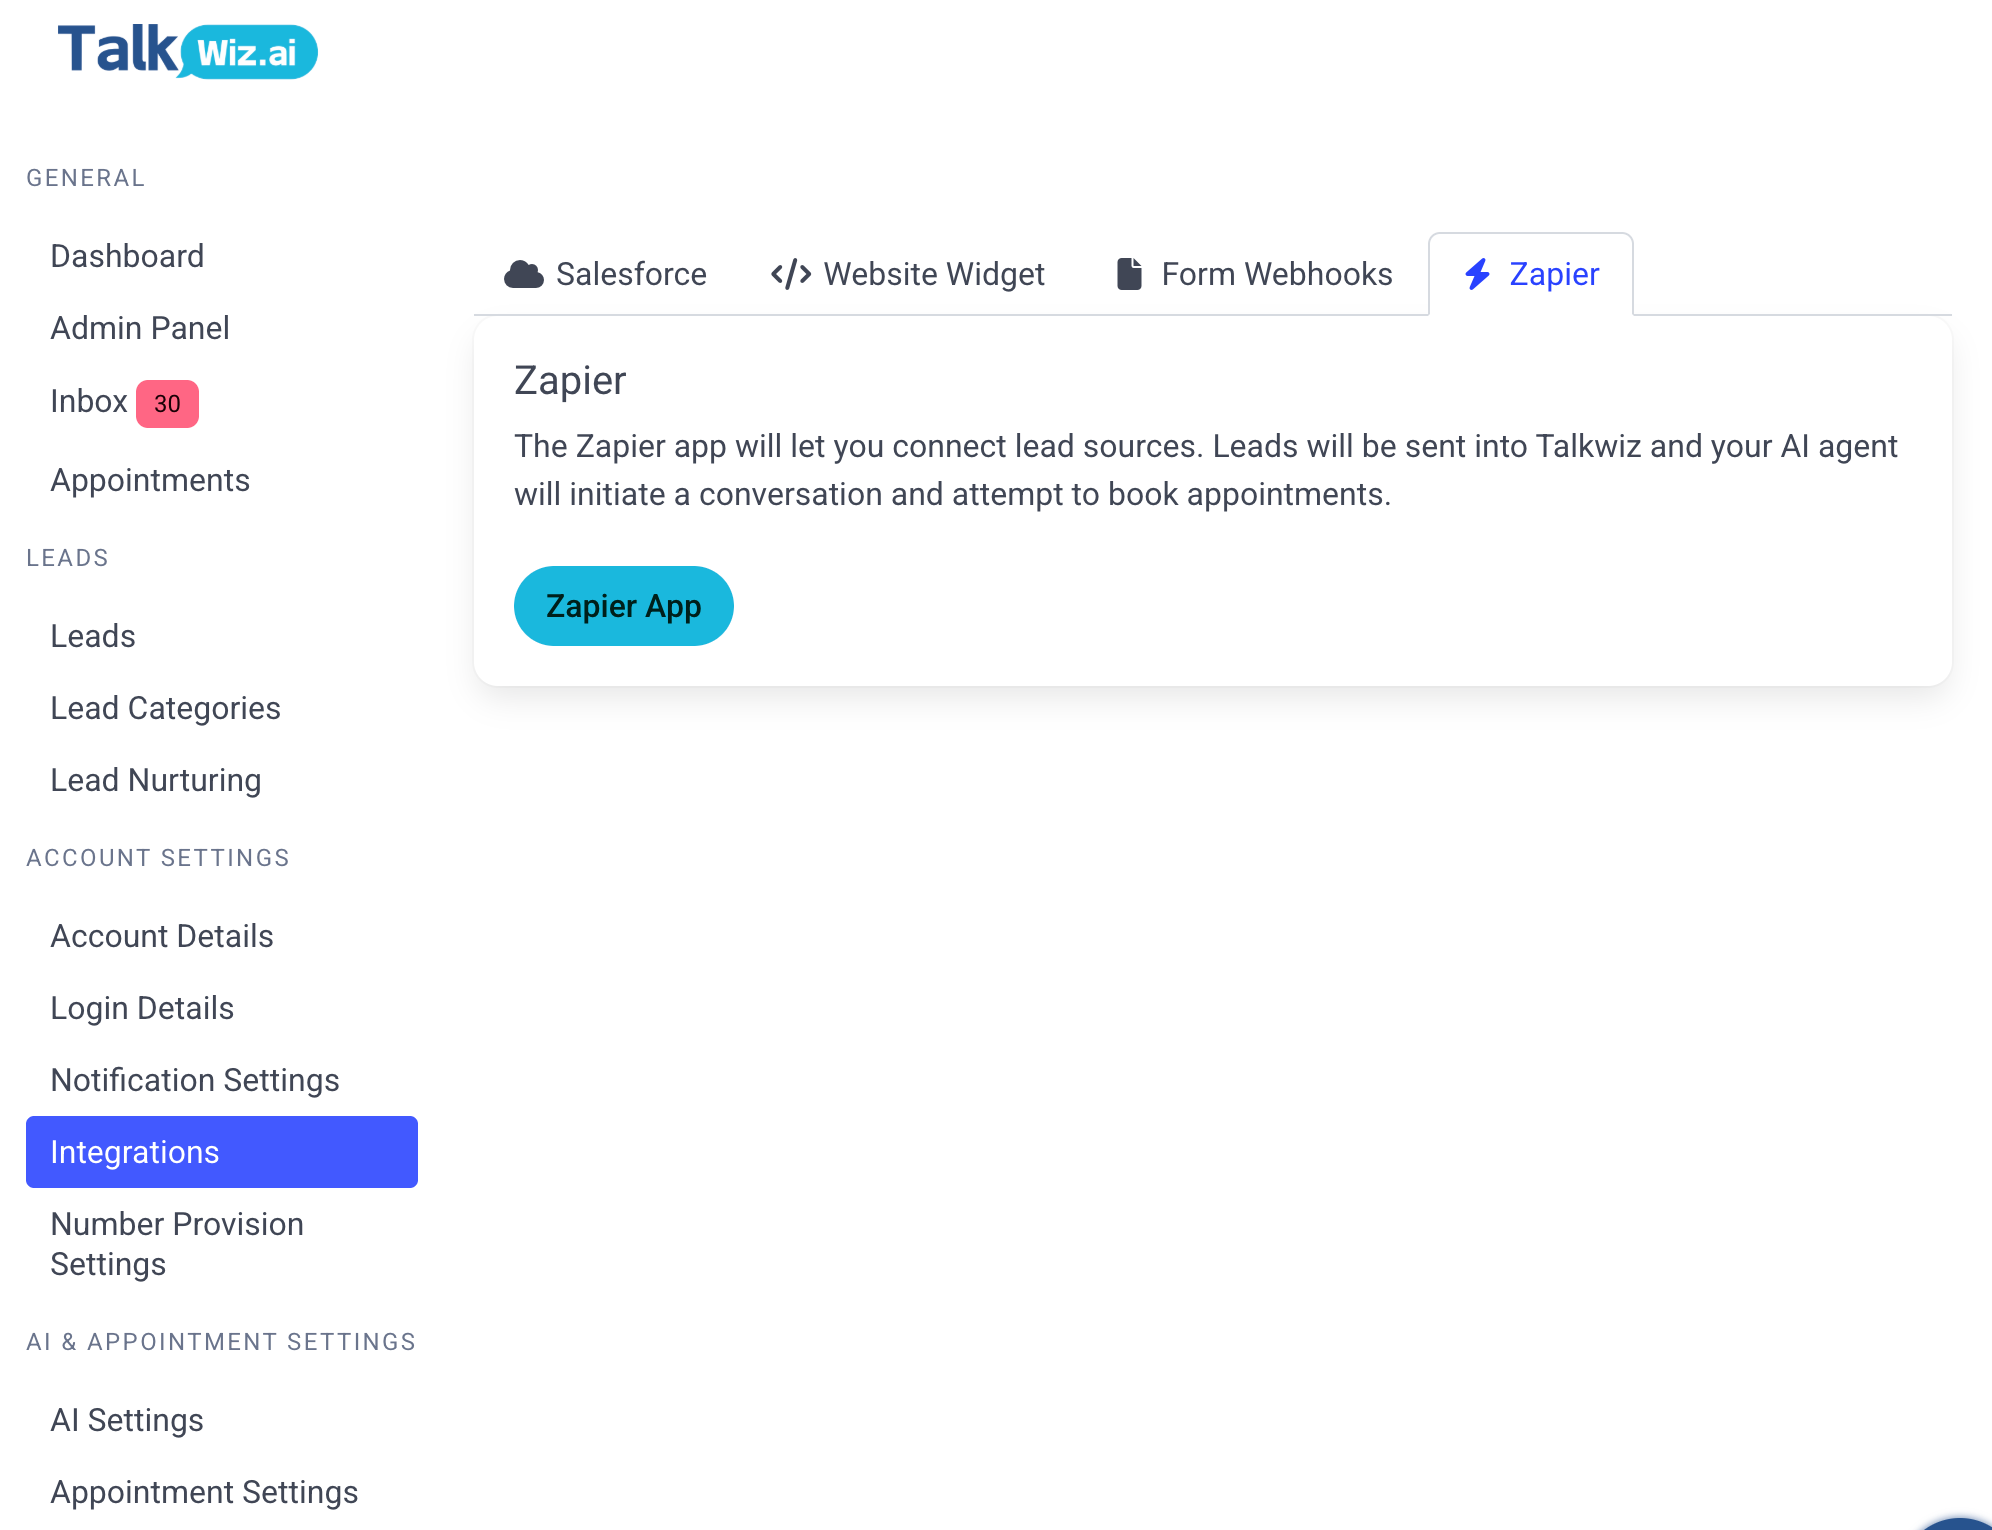
Select Zapier: From the list of available integrations, choose Zapier. This will take you to a page with information about the TalkWiz.ai Zapier app.
-
Initiate the Zapier Connection: Click on the "Zapier App" button as shown in the image below. This will redirect you to your Zapier account to begin creating the integration.
Building Your Zap: Connecting Facebook Lead Ads to TalkWiz.ai
Now you will be in the Zapier interface to create your "Zap" – an automated workflow between two apps.
Step 1: Set up the Trigger - A New Lead from Facebook
A "trigger" is an event that starts your Zap. In this case, the trigger will be a new lead from your Facebook Lead Ads.
-
Choose the App & Event: In the "Trigger" section, search for and select Facebook Lead Ads. For the "Action Event," choose New Lead.
-
Connect Your Facebook Account: If you haven't already, you will be prompted to connect your Facebook account to Zapier. Follow the on-screen instructions to authorize the connection.
-
Customize the Trigger: Select the Facebook Business Page where your ad is running and the specific form you want to connect to TalkWiz.ai.
-
Test the Trigger: Zapier will attempt to find a recent lead from your selected form to test the connection. This ensures that data is being pulled correctly from Facebook.
Step 2: Set up the Action - Create a Lead in TalkWiz.ai
An "action" is the event your Zap performs after the trigger occurs. Here, the action will be to create a new lead in TalkWiz.ai.
-
Choose the App & Event: In the "Action" section, search for and select TalkWiz.ai. For the "Action Event," choose Create Lead.
-
Connect Your TalkWiz.ai Account: You will be prompted to sign in to your TalkWiz.ai account. This will likely require an API key or your login credentials to authorize the connection with Zapier. Follow the instructions provided by Zapier.
-
Map the Fields: This is a crucial step where you will tell Zapier how to send the information from your Facebook lead to TalkWiz.ai. You will see fields from TalkWiz.ai (like Name, Phone Number, Email, etc.) and you can map the corresponding information from your Facebook Lead Ad form to these fields. For example, you would map the "Full Name" field from your Facebook form to the "Lead Name" field in TalkWiz.ai.
-
Test the Action: Once you have mapped the fields, you can test the Zap. Zapier will send the test lead data from Facebook to TalkWiz.ai. You should see a new lead appear in your TalkWiz.ai Inbox or Leads section.
-
Publish Your Zap: If the test is successful, the final step is to Publish your Zap. Once published, it will run automatically in the background, sending every new Facebook lead directly to TalkWiz.ai for immediate engagement.
Related Articles
Welcome to TalkWiz.ai: Your Guide to Automated Business Growth
Hello and welcome to the TalkWiz.ai family! We're thrilled to have you on board. This guide is designed to introduce you to the core concepts of our platform and show you how TalkWiz.ai can become your most valuable employee—one that works 24/7 to ...Setting up your Salesforce integration
Setting Up Your TalkWiz.ai ⇄ Salesforce Integration Integrating TalkWiz.ai with Salesforce enables a two-way sync of your Leads: any Lead created or updated in one system will automatically appear (and stay up to date) in the other. You can also ...SMS Lead Nurturing User Guide
Welcome to SMS Lead Nurturing! Hello and welcome! This guide will walk you through the first steps of using TalkWiz's SMS Lead Nurturing feature. We're excited to help you boost engagement and conversions with the power of SMS. Let's dive in. What is ...Mastering A2P 10DLC: A Guide to Successful Registration
Introduction: What is A2P 10DLC and Why is it Essential? A2P 10DLC is a system in the United States that allows businesses to send Application-to-Person (A2P) messages over standard 10-digit long code (10DLC) phone numbers. As a customer of ...SMS Marketing Compliance Guide - US
Introduction In today's dynamic business environment, direct and immediate communication with customers is paramount. SMS marketing offers instant consumer engagement, delivering timely information, promotions, and updates. Compliance with ...